Because my handheld transceiver is rarely heard by anyone when beaconing APRS, at a mere 7-8W and using an antenna inside my car, I wanted to use my more powerful 50W Alinco DR-605 to send and receive APRS.
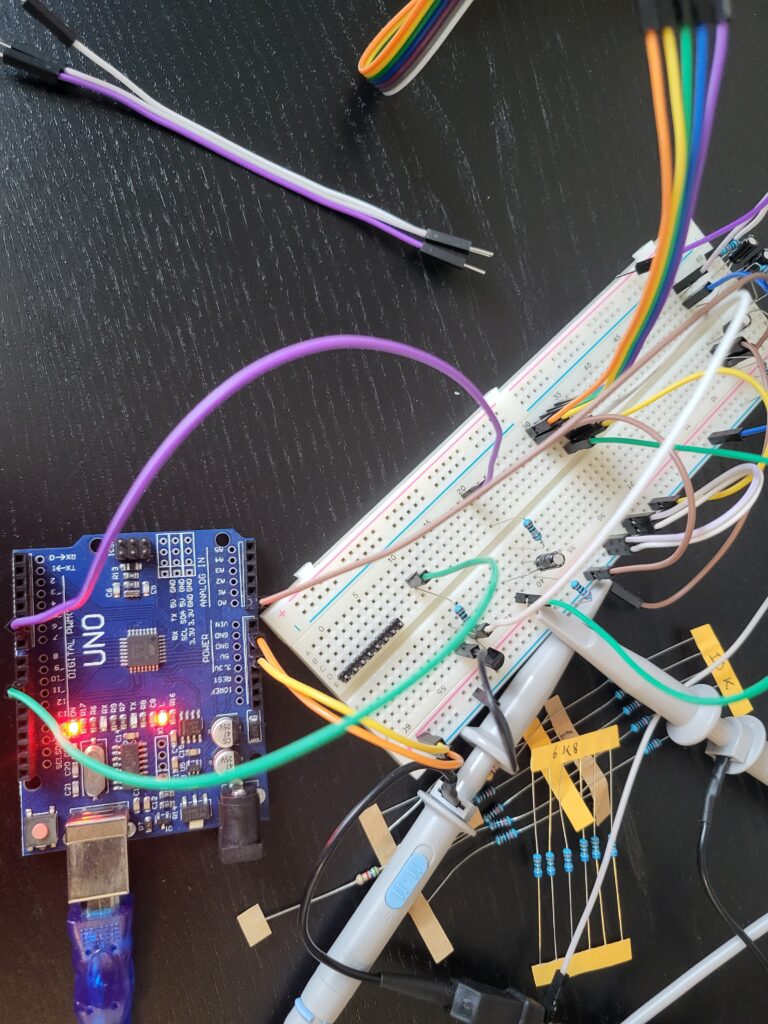
Using instructions from Mobilinkd, combined with the manual of the transceiver, it was pretty easy to build one using an Arduino. I just lacked some electrical diagrams to follow along and had to ‘reverse engineer’ from the provided breadboard diagrams.
If you use the provided firmware, it’s really easy to set up.
Audio RX
My transceiver sends a 12 Vpp (peak-to-peak) audio signal over the serial port. I use a capacitor to get rid of any DC components, then a voltage divider to reduce the voltage to approximately 5 Vpp (-2.5 to 2.5). The signal is then decoupled through another capacitor and added to a 2.5V signal that is created using another voltage divider from the 5V rail of the Arduino. This final voltage is then fed into the A0 (Analog 0) pin of the Arduino.
Push-to-talk
Push to talk is handled by shorting a signal to ground, this is accomplished using a simple PN2222 transistor, with a signal to its base coming through a 1k resistor from the D10 (Digital 10) pin of the Arduino.
Audio TX
The provided firmware will generate an approximate audio signal on its D6 (Digital 6) pin. Because my radio expects a 10 mVpp signal (10 millivolts!), it is fed through another voltage divider and then through a capacitor for smoothing and decoupling.
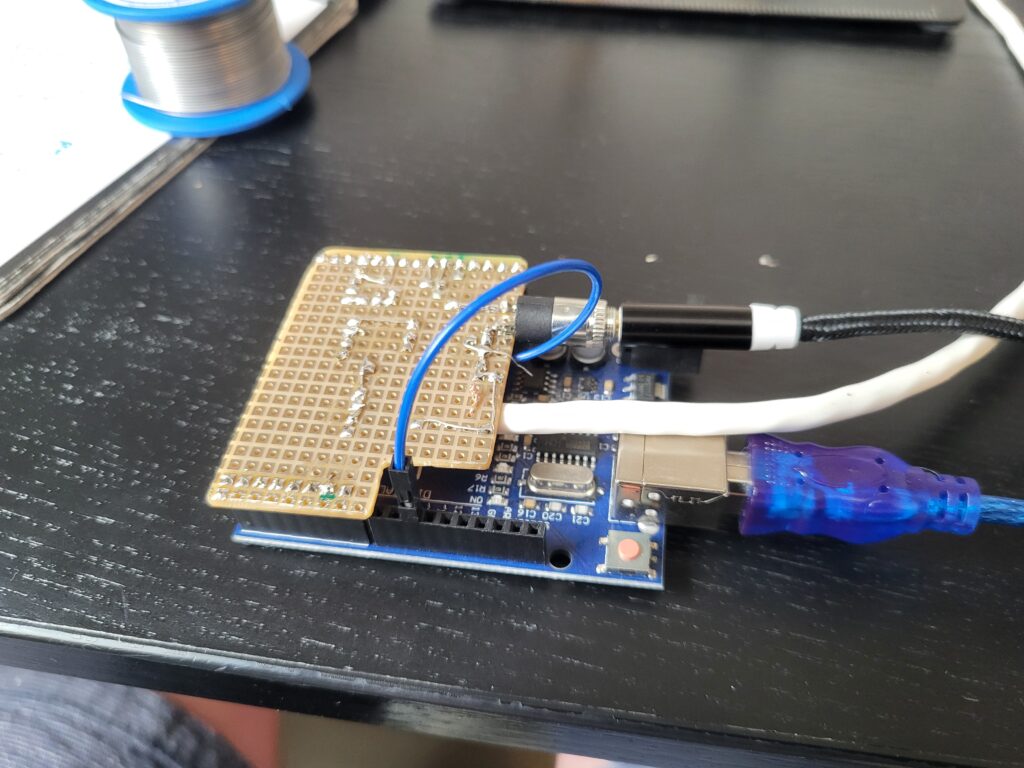
After flashing the firmware, now when I connect the Arduino, I can set it up on either my phone using APRSDroid (select KISS TNC over USB Serial, press “Start Tracking” to initialize) or my computer, I can send messages back and forth between my HT and the connected device.